Recording and Editing a Podcast Episode
In this tutorial, we will cover the basics of using the open-source software Audacity to record and edit a podcast.
1. Preparation
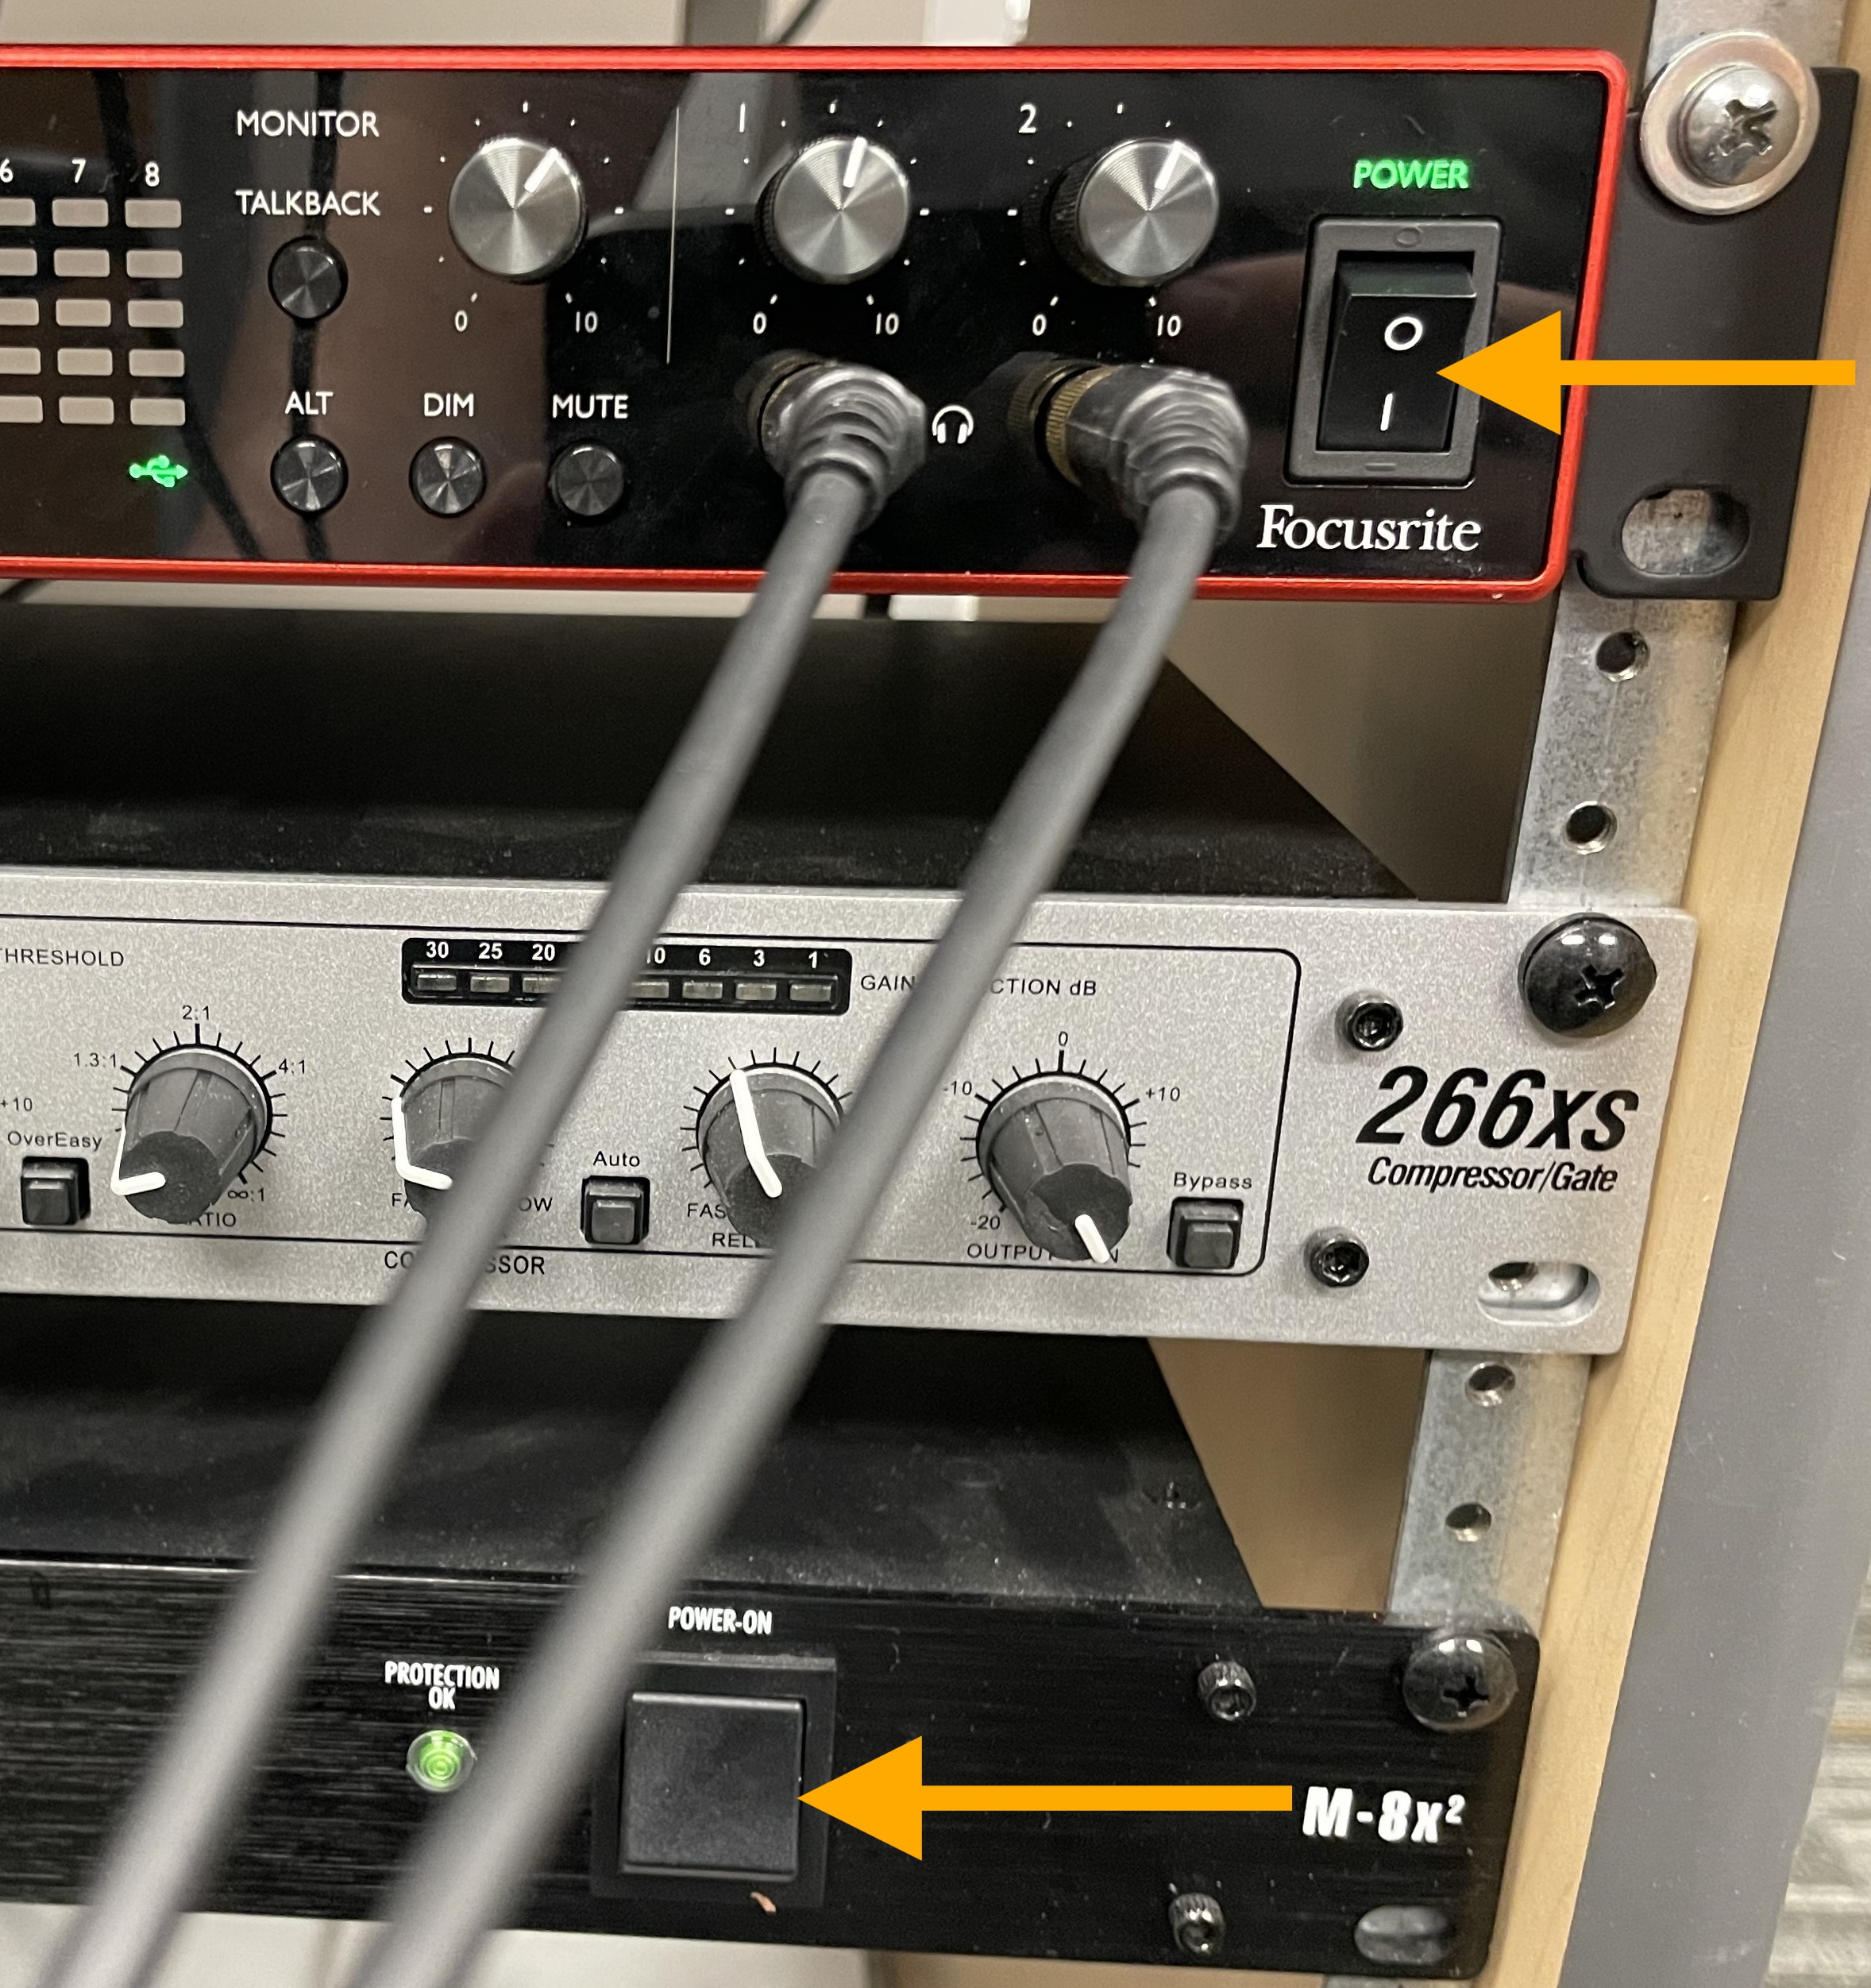
Turn on the audio interface Scarlett 18i20 (if it’s not already on). If pressing the power switch does not turn it on, first power on the Furman M-8X located below the Scarlett 18i20.
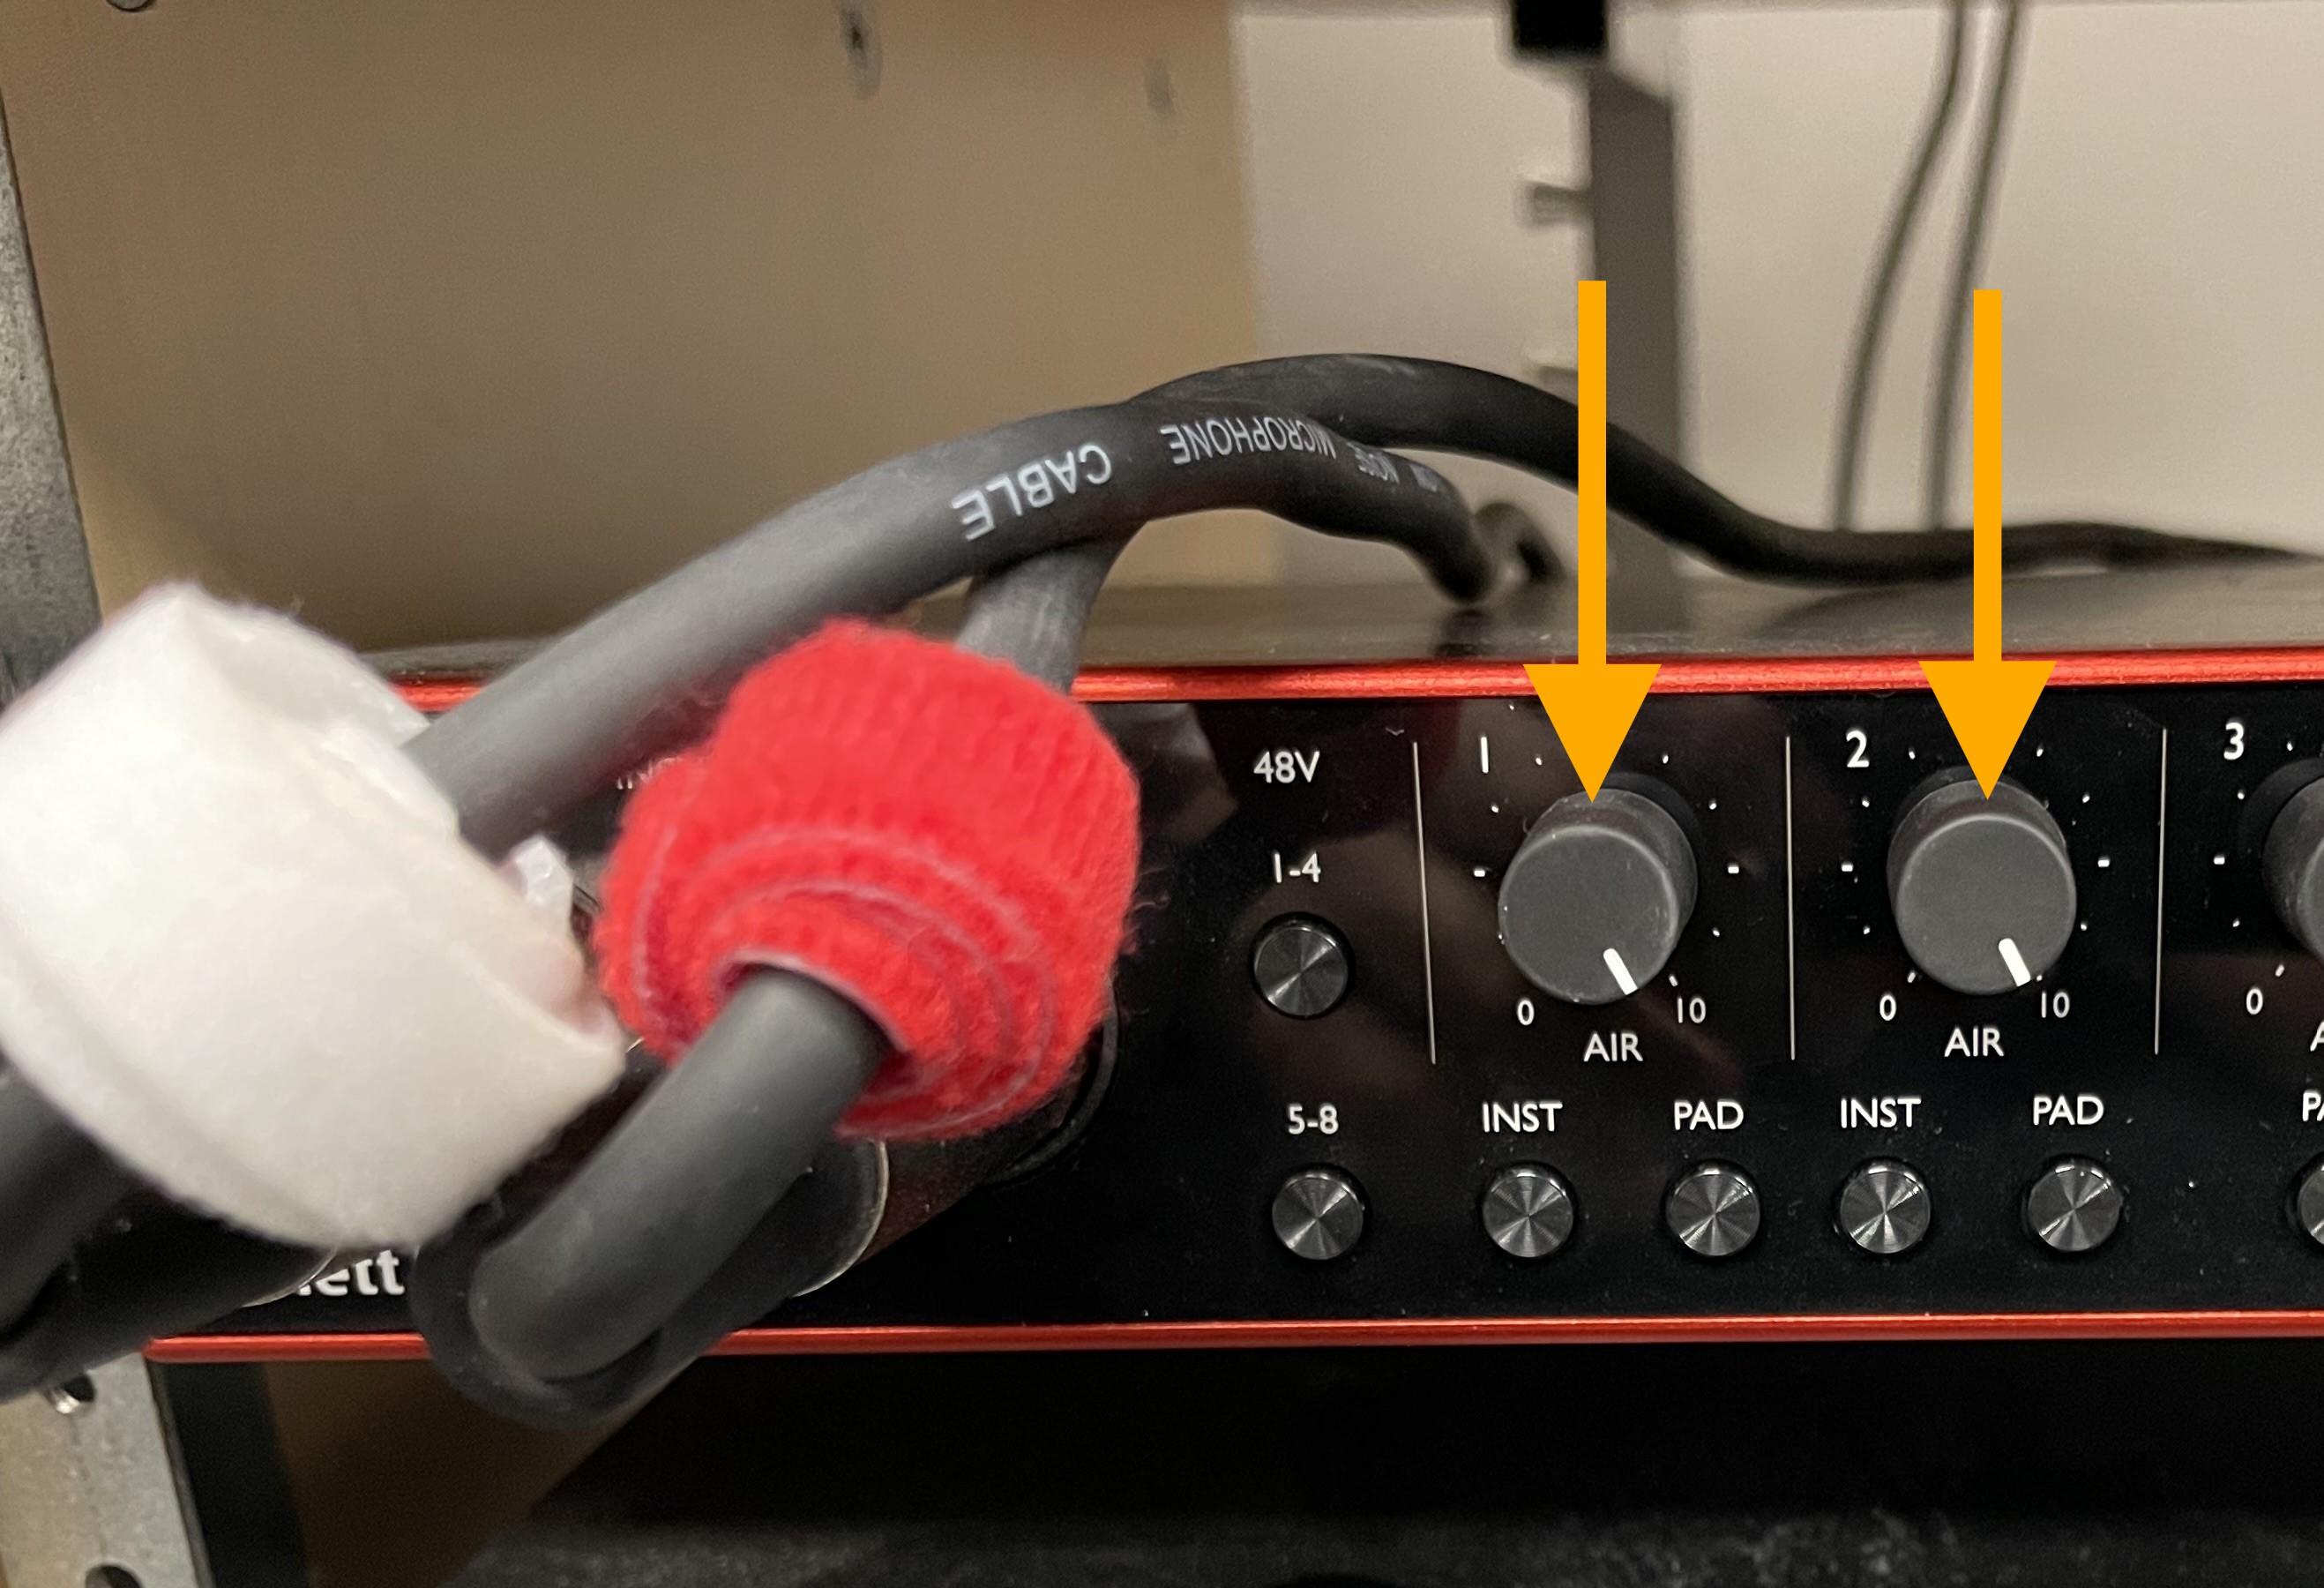
Turn the gain knob for Input 1 all the way to the right. If recording a two-person podcast, repeat this process for Input 2.
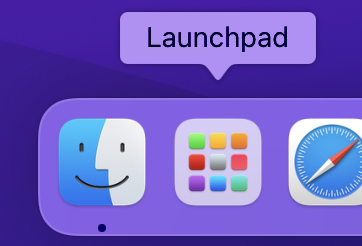
Open Audacity, which can be accessed in the Launchpad.
Ensure that both the input and output are set to the default Scarlett 18i20 USB. For a two-person podcast, make sure the recording channel is set to 2 (Stereo) Recording Channels.

To test your microphone, begin speaking at a comfortable level. Pay attention to the Recording Meter Toolbar. The bars remain green until the signal reaches -12 dB then merge to yellow as the signal approaches -6 dB, which is a good maximum signal level to aim for.

2. Recording
To record, press the red Record button.

To stop recording, press the spacebar or the Stop button.

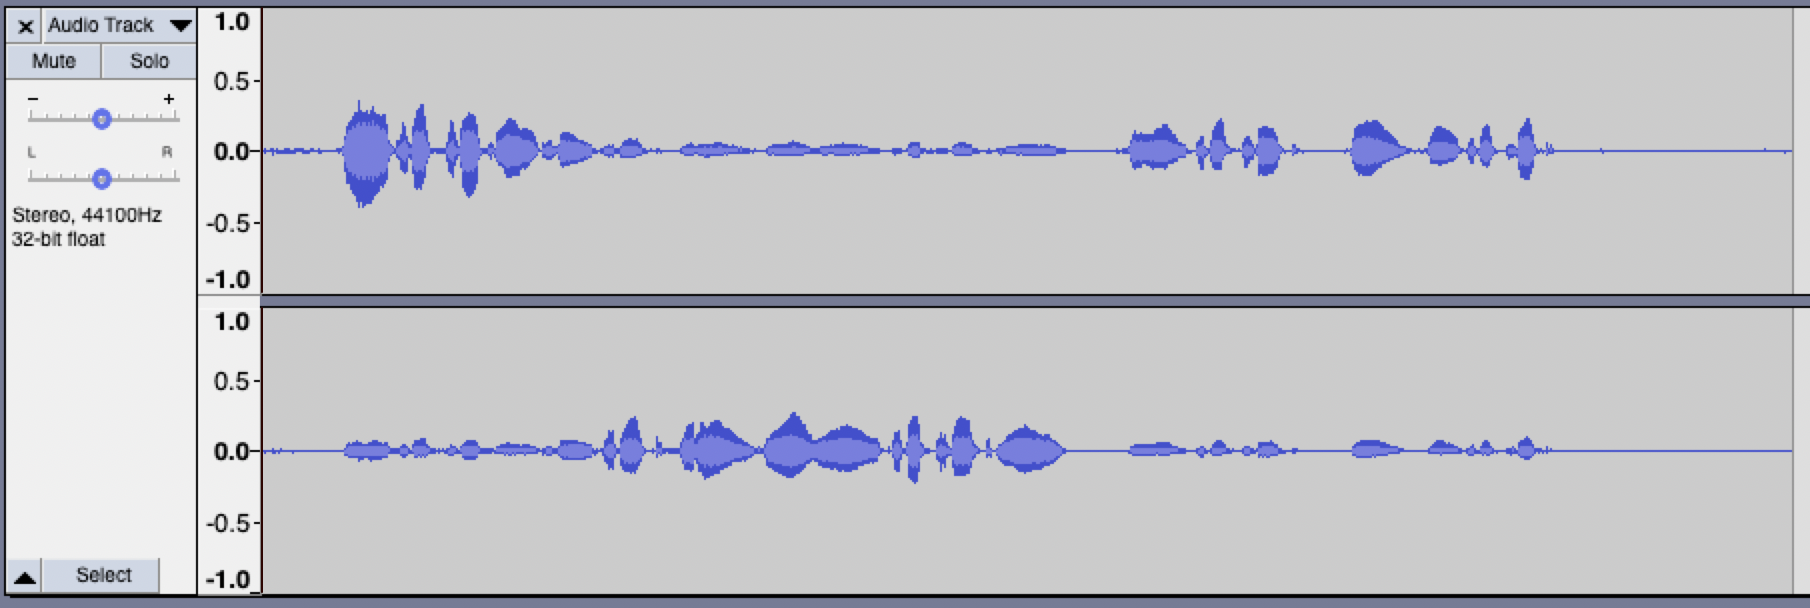
If you’re recording with two microphones simultaneously, Audacity will create a single track with two channels: input 1 on the left channel and input 2 on the right channel.
3. Editing
To delete any unwanted sounds, such as “Um”, “uh”, “mm” and other filler sounds and words, use the Selection tool to select the portion and press the delete key on the keyboard.

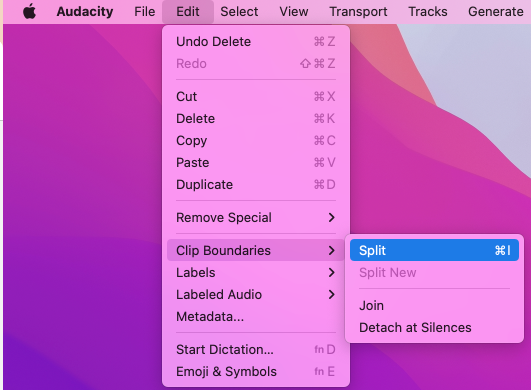
To create two individual clips from a single clip, use the Split command located under Edit > Clip Boundaries > Split.
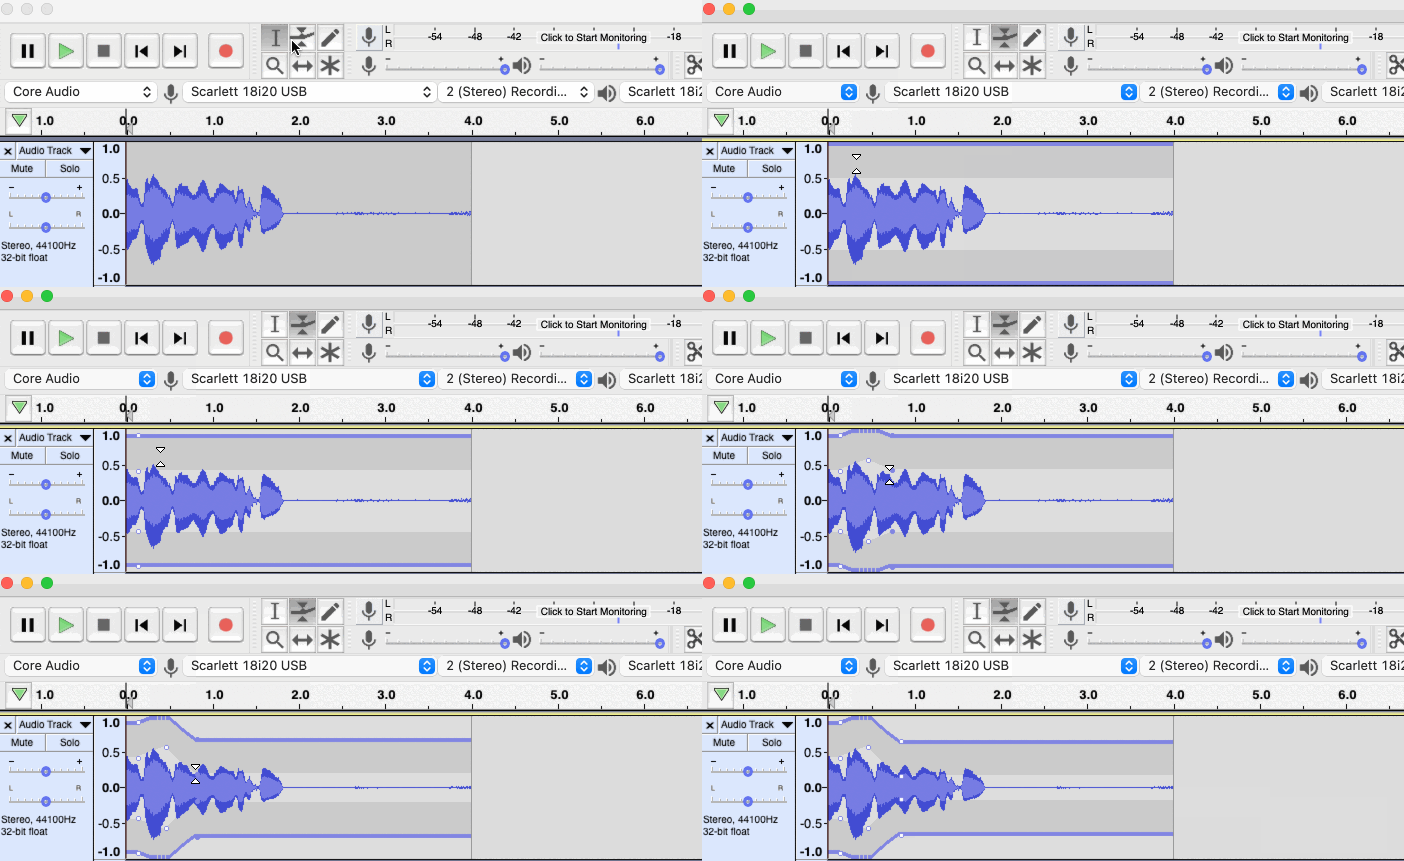
To change the position of an audio clip in time, use the Time Shift tool and drag it forward or backward on the track.

To fade in and fade out, such as intro and outro music tracks, and make micro-adjustments to the audio files, use the Envelope tool.
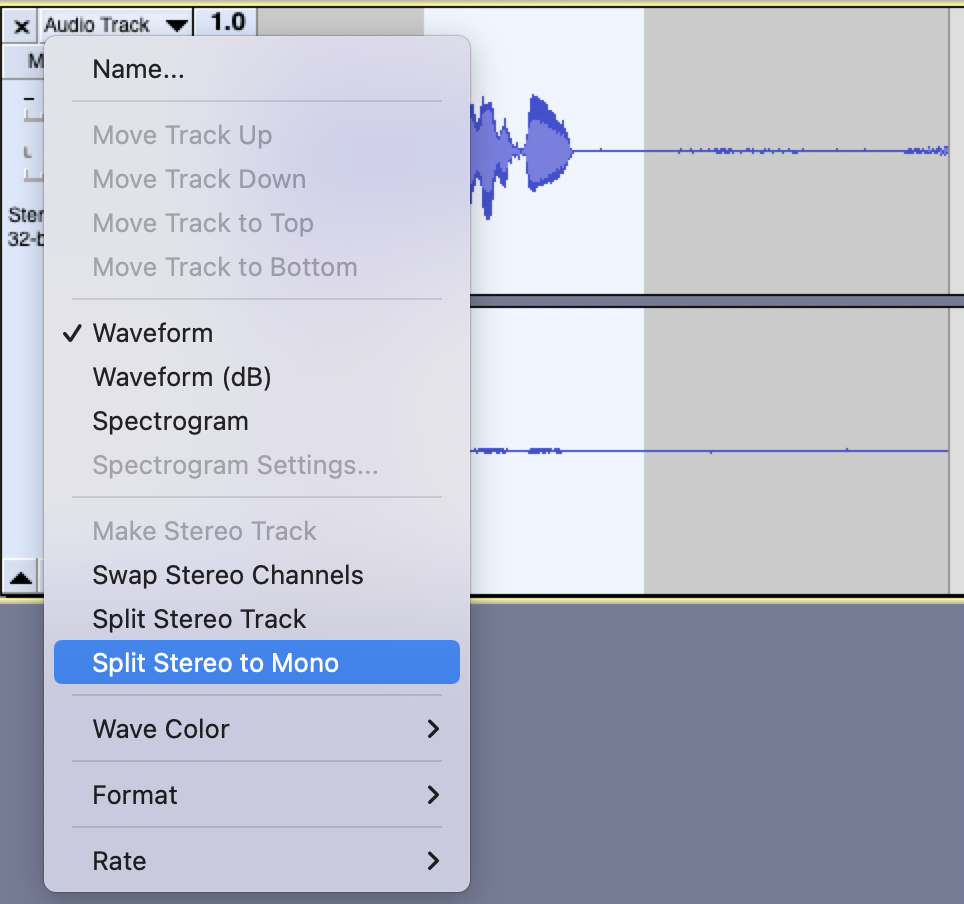
If you have recorded with two microphones simultaneously, go to Audio Track> Split Stereo to Mono to edit the tracks separately.
After finishing your editing, go to Tracks > Mix > Mix and Render to New Track and then delete the old tracks. This ensures that the sound will play from both monitors. Otherwise, the left monitor will only output the left channel, and the right monitor will only output the right channel.

4. Exporting
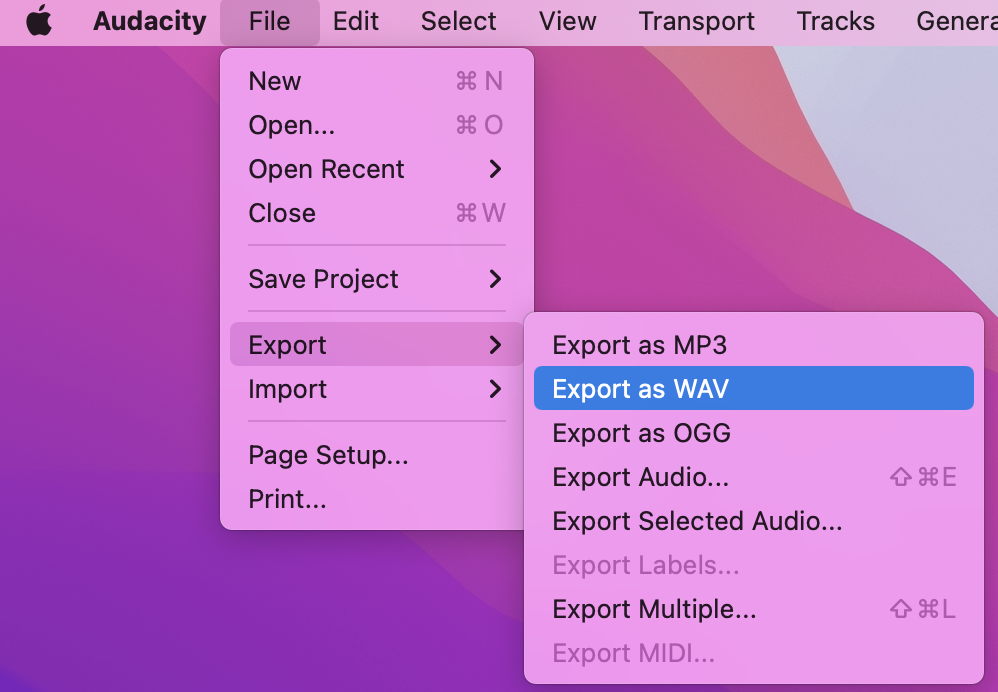
To export, go to File > Export > Export as WAV.
Once exported, your episode is ready to be uploaded to a podcast hosting service like Libsyn, Spotify for Podcasters, or Podbean.
![University of Idaho Library [logo]](https://www.lib.uidaho.edu/media/images/ui_library_horizontal.png)